What to Do Immediately After Storm Damage to Your Roof: A Step-by-Step Response Plan
What to Do Immediately After Storm Damage to Your Roof: A Step-by-Step Response Plan
December 29, 2025
The storm has passed, leaving behind debris, damage, and a growing sense of panic as you notice water dripping into your living room or spot shingles scattered across your yard. What happens in the first few hours after discovering roof damage can make the difference between a manageable repair and a catastrophic insurance nightmare.
Here's your complete action plan for responding to storm damage, from the moment you notice the problem through permanent repairs.
Step 1: Ensure Everyone's Safety (First 5 Minutes)
Before you do anything else, make sure everyone in your household is safe.
Check for Immediate Dangers:
Stay out of rooms where ceilings are sagging or bulging
Avoid standing water, especially near electrical outlets or appliances
Don't go outside if power lines are down
Keep everyone away from damaged areas of the roof visible from inside
If you smell gas or suspect a gas leak, evacuate immediately and call 911
Turn Off Power to Affected Areas
If water is entering your home near electrical outlets, fixtures, or appliances, shut off power to those areas at your circuit breaker. If the main electrical panel is wet or in a flooded area, don't touch it. Call an electrician or your utility company.
Only Assess Damage from Safe Locations
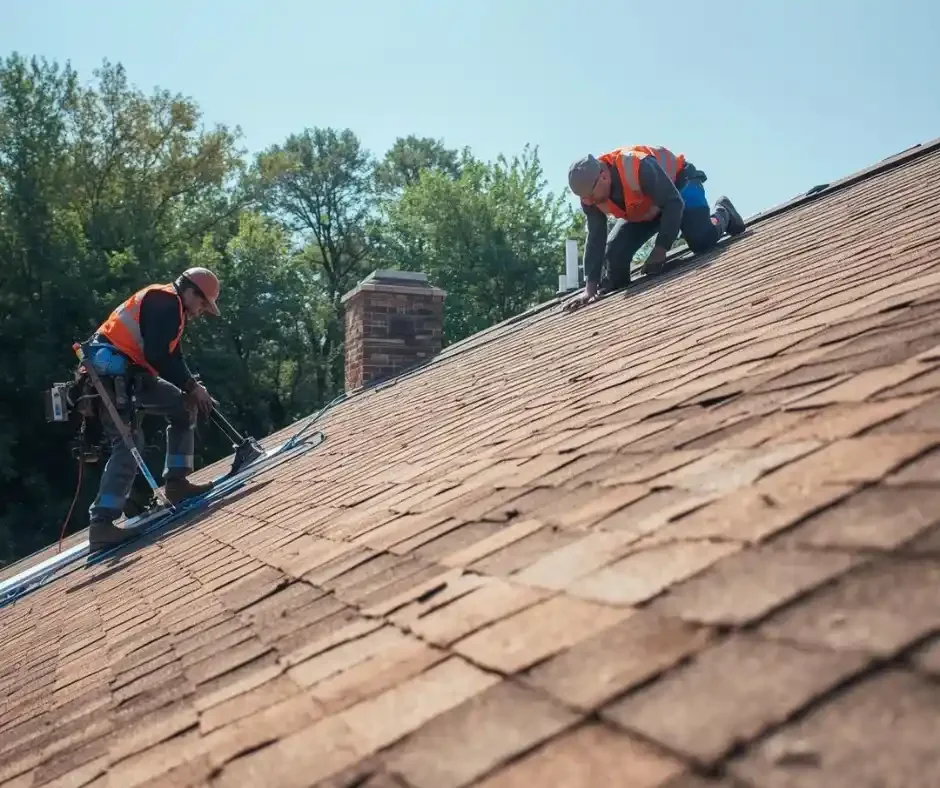
Never climb on a damaged roof. Never go outside during the storm to check on damage. Stay inside until the storm has completely passed, then assess damage only from the ground or through windows. If you spot signs of trouble, leave the inspection and repairs to professional roof repair services in Ocean County.
Step 2: Stop Additional Damage (First 30 Minutes)
Once everyone is safe, your priority is damage control to prevent the problem from getting worse.
Contain Interior Water
Place buckets, trash cans, or any large containers under active leaks
Use towels or mops to soak up standing water
Move furniture, electronics, and valuables away from affected areas
If you can safely access the attic, spread plastic sheeting to catch dripping water and protect items stored below
Remove area rugs from wet floors to prevent mold growth underneath
Protect Your Belongings
Cover furniture with plastic sheeting or tarps
Move important documents, electronics, and sentimental items to dry areas
Elevate items off the floor in case water spreads
Unplug electronics in affected rooms
Do NOT Attempt These Actions:
Walking on your roof, especially if it's wet, icy, or damaged
Trying to tarp your roof yourself if it requires ladder work or roof access
Attempting to remove fallen tree limbs from your roof
Using power tools near water or in wet areas
Trying to clear ice dams with tools (you'll likely cause more damage)
Step 3: Document Everything (Within First Hour)
Thorough documentation is critical for insurance claims and helps ensure you're fully compensated for damage.
Photograph and Video All Damage
From safe locations, document:
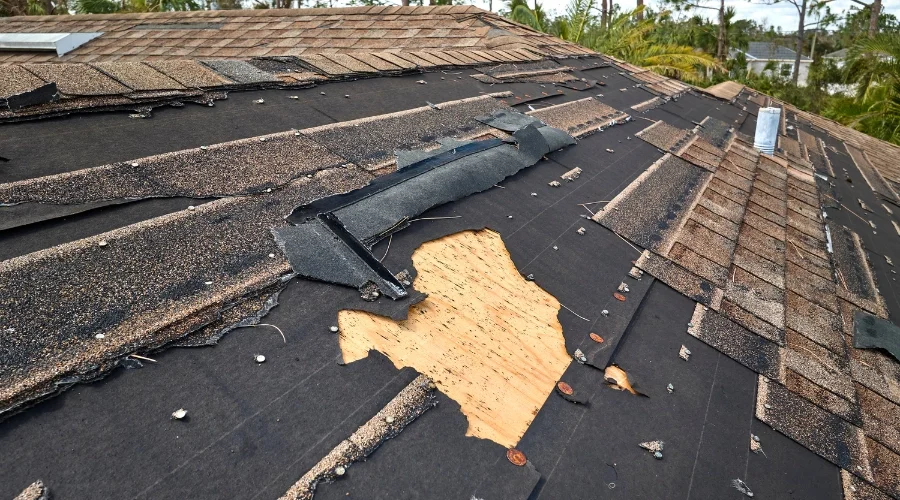
Exterior roof damage (from the ground, use zoom if needed)
Missing shingles, visible holes, or damaged areas
Debris on or around your roof
Interior water damage to ceilings, walls, and floors
Damaged belongings
Standing water
The overall condition of affected rooms
Take photos from multiple angles. Capture wide shots showing the full scope and close-ups of specific damage. Include time and date stamps if your phone allows it.
Create a Written Record
Write down:
Date and time you discovered the damage
Weather conditions during the storm
Sequence of events
What you observed
Actions you took
Any conversations with neighbors, utility workers, or others about the storm
Keep All Receipts
Save receipts for any emergency supplies you purchase (tarps, buckets, towels) and any emergency services you need to call. These may be reimbursable through your insurance.
Step 4: Contact Your Insurance Company (Within First 2-3 Hours)
Most homeowner's insurance policies require prompt notification of damage. Don't wait days or weeks to file a claim.
What to Have Ready When You Call:
Your policy number
Description of the damage
Date and time of the storm
Photos and documentation you've gathered
List of damaged items or areas
Questions to Ask Your Insurance Company:
What is my deductible?
What type of damage is covered under my policy?
Do I need approval before making emergency repairs?
How soon will an adjuster be assigned?
Can I choose my own contractor, or do you have a preferred list?
What documentation do you need from me?
Are temporary repairs covered?
What's the timeline for processing my claim?
Get Everything in Writing
Take notes during your conversation, including:
Name of the representative you spoke with
Claim number
Instructions you received
Next steps and timelines
Follow up any phone conversations with an email summarizing what was discussed.
Step 5: Call a Professional Roofing Contractor (Within First 3-4 Hours)
Even if your insurance company will send an adjuster, you need professional assessment and possibly emergency repairs immediately.
Why Speed Matters:
Prevents additional water damage
Stops small problems from becoming big ones
Gets you on the schedule before contractors are overwhelmed
Provides documentation to support your insurance claim
Ensures your home is secure
What to Tell the Roofing Company:
You have storm damage that needs assessment
Whether there's active water intrusion
Basic description of visible damage
Your location and contact information
Whether this is an emergency requiring immediate response
What Good Contractors Will Provide:
Realistic timeline for assessment visit
Clear explanation of their process
Emergency stabilization services if needed
Written estimates and detailed damage reports
Assistance with insurance documentation
Licensed, insured proof of credentials
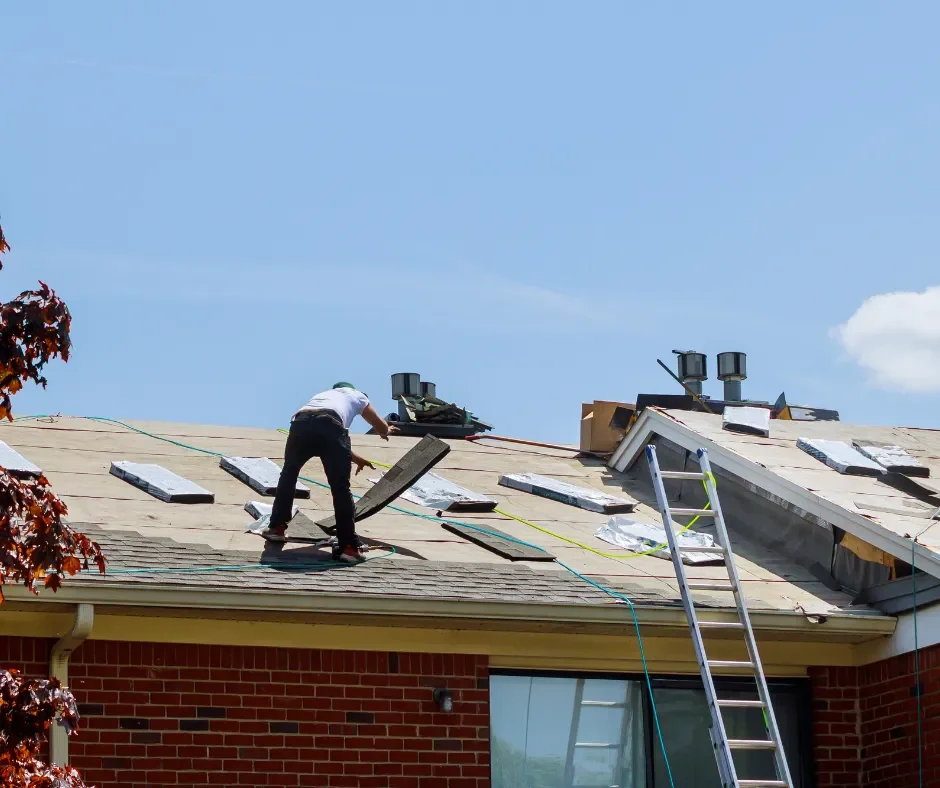
Step 6: Emergency Temporary Repairs (First 24 Hours)
If you can't get professional help immediately, or if professionals have stabilized the situation with temporary repairs, understand what this means:
Temporary Repairs Are Damage Control, Not Permanent Solutions
Emergency repairs might include:
Tarping damaged sections
Temporary patching of holes
Water diversion systems
Securing loose materials
These repairs are designed to protect your home until permanent repairs can be completed safely. They're not meant to last weeks or months.
If Professionals Install Emergency Tarps:
Understand how long the tarp is designed to last
Know what conditions might compromise it
Schedule permanent repairs as soon as possible
Check tarps after subsequent storms to ensure they're still secure
Step 7: Work with the Insurance Adjuster (Within First Week)
Your insurance company will send an adjuster to assess the damage. This visit is crucial to your claim.
Before the Adjuster Arrives:
Keep the area safe but don't clean up or repair anything yet
Compile all your documentation in one place
Make a list of all damaged items with approximate values
Note anything that might not be immediately visible (water damage inside walls, damaged insulation, etc.)
During the Adjuster's Visit:
Walk them through everything, pointing out all damage
Reference your photos and documentation
Ask questions about what's covered and what's not
Take your own notes about what the adjuster observes
Get the adjuster's timeline for the report and payment
If You Have a Roofing Contractor Assessment:
Share your contractor's damage report with the adjuster
Discuss any discrepancies between assessments
Ask the adjuster to explain any coverage denials or limitations
Step 8: Get Multiple Estimates (Within First 1-2 Weeks)
Don't rely on a single estimate, especially for significant damage.
What to Compare:
Total cost
Scope of work
Materials specified
Timeline for completion
Warranty offered
Company credentials and insurance
References
Red Flags to Watch For:
Pressure to sign immediately
Requests for large upfront payments
Offers to waive your insurance deductible
Door-to-door solicitations after storms
Out-of-state contractors with no local presence
Prices significantly lower than other estimates
Vague or incomplete written estimates
Step 9: Choose a Contractor and Schedule Repairs (Within First 2-3 Weeks)
Once you have insurance approval and multiple estimates, choose a contractor and get repairs scheduled.
Verify Before Signing:
License is current and valid in New Jersey
Insurance coverage is adequate and up to date
References check out
Contract clearly spells out scope, timeline, materials, and costs
Payment schedule is reasonable (never pay in full upfront)
Warranty details are in writing
What Should Be in Your Contract:
Detailed scope of work
Specific materials to be used (brand, type, color)
Start and completion dates
Total cost broken down by labor and materials
Payment schedule tied to completion milestones
Warranty information
Clean-up and disposal provisions
Contact information and license numbers
Step 10: Monitor Repairs and Final Inspection (During and After Repair Work)
Stay involved throughout the repair process.
During Repairs:
Check in regularly with the project manager
Take photos of work in progress
Address concerns immediately
Ensure crews are cleaning up daily
Verify materials match what was specified
Upon Completion:
Do a thorough walkthrough with the roofing contractor Little Egg Harbor
Check all work against the contract
Test for leaks if possible (run hose water over repaired areas)
Ensure all debris is removed
Verify you have warranty documentation
Get lien releases from contractor and any subcontractors
Before Final Payment:
Confirm all work is complete to your satisfaction
Have any concerns addressed
Ensure building permits (if required) are closed out
Get copies of all final paperwork and warranties
Common Mistakes to Avoid
Don't:
Wait to report damage to insurance
Try to make permanent repairs yourself
Hire the first contractor who shows up at your door
Pay in full before work is complete
Throw away damaged items before adjuster sees them
Sign anything you don't fully understand
Accept verbal promises without written confirmation
Do:
Act quickly to prevent additional damage
Document everything thoroughly
Ask questions when you don't understand
Get multiple opinions
Verify all contractors and their credentials
Keep copies of all paperwork
Stay involved throughout the process
When to Call for Emergency vs. Scheduled Service
Some situations require immediate emergency response:
Call for Emergency Service Immediately:
Active leaks during ongoing storms
Structural damage or sagging
Large holes or openings in the roof
Fallen trees or large branches on the roof
Water near electrical systems
Can Typically Wait for Scheduled Service:
Minor leaks contained with buckets
A few missing shingles with clear weather forecast
Cosmetic damage with no immediate risk
Damage discovered well after the storm has passed
When in doubt, call and describe the situation. A professional can help you determine urgency.
The Emotional Side of Storm Damage
Discovering storm damage is stressful. Your home is your sanctuary, and seeing it compromised is upsetting. It's normal to feel:
Overwhelmed by the scope of damage
Frustrated with insurance processes
Anxious about costs
Angry at circumstances beyond your control
Take breaks when you need them. Ask for help from friends or family. Focus on one step at a time rather than trying to handle everything at once.
Moving Forward
Storm damage doesn't have to become a disaster. With prompt action, thorough documentation, and professional help, you can protect your home and get back to normal.
The key is having a plan before you need it. Save this guide, keep emergency contact information handy, and know who to call when storm damage occurs.
G.R.M. Roofing provides emergency storm damage assessment and repair services throughout Ocean County, including Tuckerton, Little Egg Harbor, and Barnegat. When storm damage strikes, we respond quickly with thorough assessments, emergency stabilization, and permanent repairs that restore your home's protection.
We work directly with insurance companies, provide detailed documentation to support your claim, and stand behind our work with comprehensive warranties. From that first panicked phone call through final inspection, we're with you every step of the way.
Don't let storm damage become a catastrophe. Save our contact information now, and know that expert help is available when you need it most.